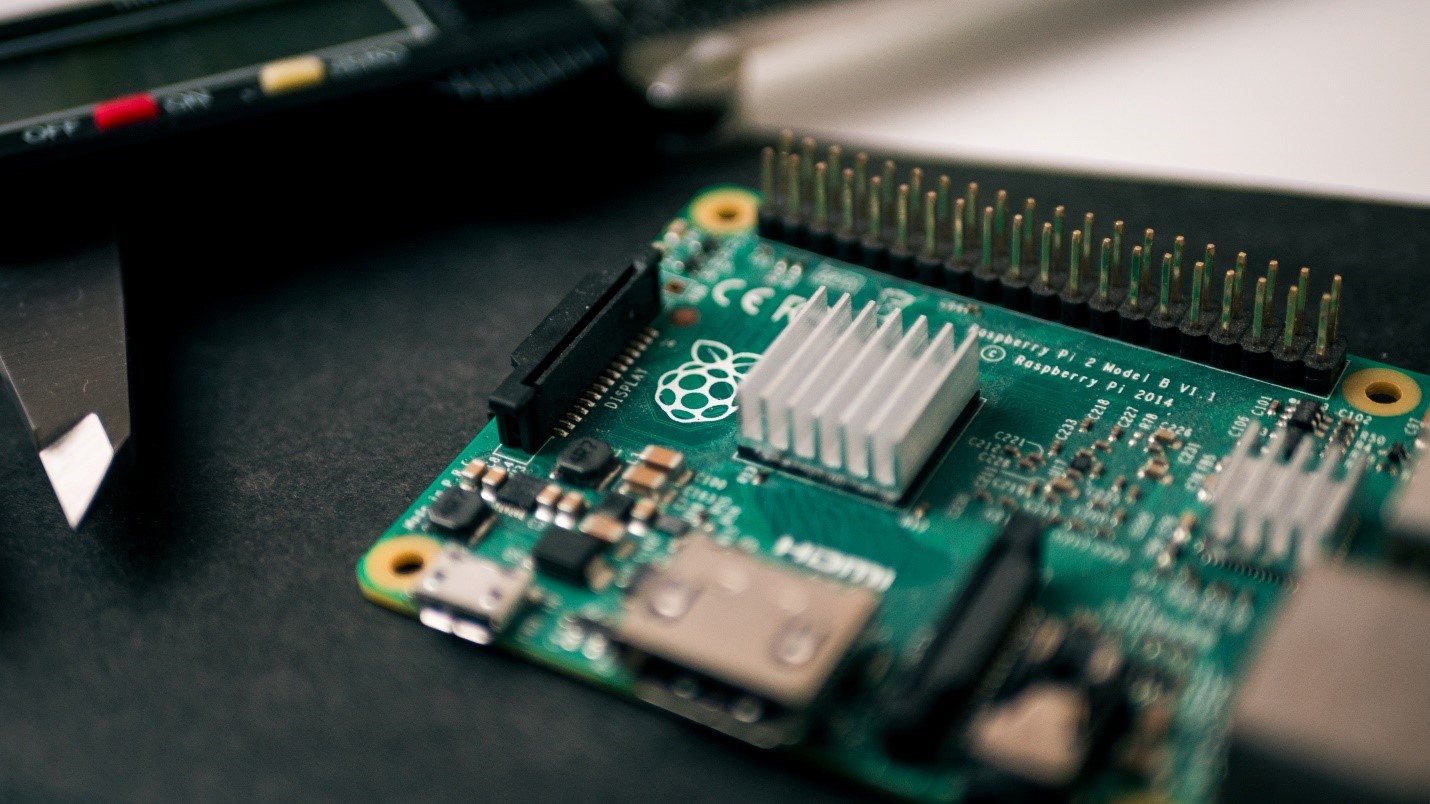
Photo by Harrison Broadbent on Unsplash
It is easier to be a robotics hobbyist more than ever, thanks to affordable electronics and electric motors. Raspberry Pi is one of those robotics hobbyists starter pack items since it can also provide programming despite its size and price.
With a servo motor connected to a Raspberry Pi, motion control for your small project is easy to achieve. Before assembling your little project, you must learn the limits of a servo motor first.
What are the limits of running a servo motor with Raspberry Pi?
Most servo motors don’t rotate continuously like a typical motor, you don’t just power it and have it spin endlessly. It needs control signals from your Raspberry Pi, which tell the angle its driveshaft should rotate. Tell it to turn to 180 degrees, it will; command it to turn to 20 degrees, and it’ll go 160 degrees back the other way. Also, remember that servo motors are not particularly strong and won’t be able to lift large loads. A simple servo motor and Raspberry Pi connection use codes set to its minimum, median, and maximum values.
Raspberry Pi pins overview
Your Raspberry Pi uses general-purpose input/output (GPIO) pins, with Broadcom (BCM) numbering by default. Of the 40 pins, there are multiple power, signal, and ground pins that your servo motors can be connected to. There are two 5v pins (2 and 4), eight ground pins (6, 9, 14, 20, 25, 30, 34, 39), two advanced use pins (27, 28) for clock and data, and the remaining 26 are GPIO pins. Early versions of Raspberry Pi have a shorter header with 26 pins. The GPIO pins can be programmed to connect to low power digital or analog signal connections, including your servo motor.
Raspberry Pi wiring for servo motor
To connect your servo motor to your Raspberry Pi, find the three jumper wires extending from it. Wire colors can be different, but you can assume that the red wire is the power wire, and connect that to pin one. The black or something brown wire should be the ground wire and can be connected to a GND pin. The remaining wire will be your signal wire, which you can attach to a GPIO pin of your choice.
Testing your Raspberry Pi-powered servo motor
Just remember which pin you are using for your code since Raspberry Pi pins have different functions. Once you have wired your servo to the Raspberry Pi, you can test that it is working using Python Editor scripts. There are scripts available online, which can be copied and pasted to your Raspberry Pi. You can play with the values to tweak the parameters and see your servo move differently.
Do more projects with Raspberry Pi
As mentioned, Raspberry Pi can be programmed to connect digital and analog stuff aside from servo motors. For example, you can connect DC motors if your project includes power motion. You can download documentation here for more details about using Raspberry Pi and other controllers for your chosen motor. Hopefully, this helps you learn about using Raspberry Pi for your robotics projects.

 Microsoft4 years ago
 Torrent4 years ago
 Money4 years ago
 Torrent4 years ago
 Education3 years ago
 Technology4 years ago
 Technology4 years ago
 Education3 years ago


You must be logged in to post a comment Login